
We are so excited to share a fabulous no-fuss tutorial on how to personalise your Christmas photo cards. Ultra glam and budget-friendly, this DIY will make your cards shine this season!

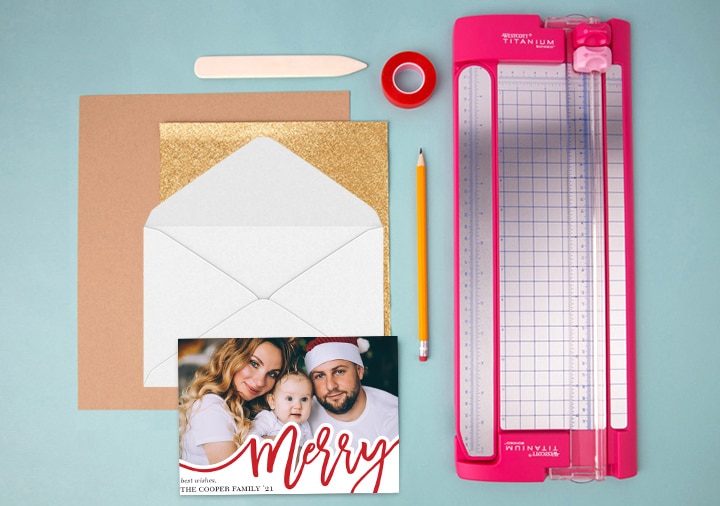
What you’ll need:
- Envelope
- Cardstock
- Scissors/ Paper cutter
- Double-sided tape
- Glitter paper
- Pencil
Instructions:
1. Create a template

Create a template by tracing your envelope onto card stock. Measure (or guesstimate) how much space to leave at the top for the seal and draw a line across with a ruler. Trim all sides with a paper cutter to achieve straight lines. Slide the card stock template into the envelope and position. You may need to trim the card stock if necessary.
Tip: To conserve glitter paper, template length can be half that of your envelope – as you won’t see much paper below the flap!
2. Trace

Place the glitter paper right-side down. Trace the card stock template onto paper with pencil and trim the sides with your scissors.
3. Stick and fold
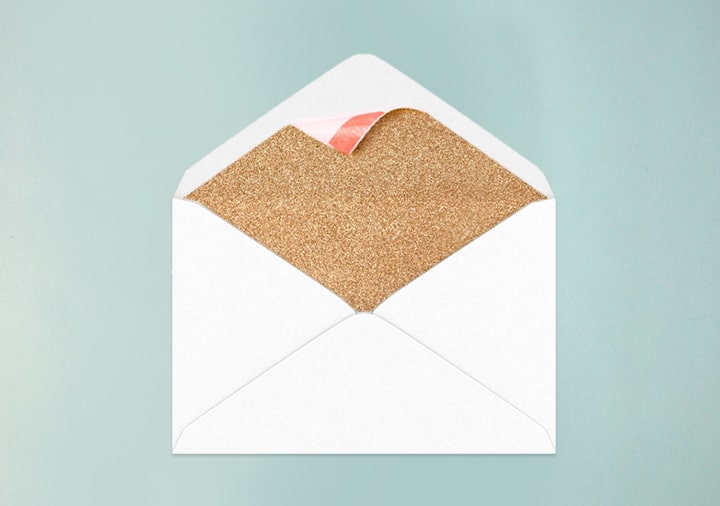
Adhere double-sided tape to the wrong side of paper, shimmy into envelope, and press down.

Pop in your signed card and call it a (holi)day! Mix and match designs with a variety of liners. Your card recipients will be delighted to see such a personal and professional touch.
Browse the our full selection of Christmas cards!

Snapfish + Macmillan are working in partnership to raise vital funds. For every greeting card or flat card set sold, Macmillan receive up to 15p.
Originally published on Snapfish US
What did you create on Snapfish? Share it with us on social media! You can tag us with @snapfishuk in your photos on Instagram or Facebook or use the hashtag #snapfishuk. Don’t forget to follow us on YouTube, Twitter and Pinterest, too. We love seeing what you create.