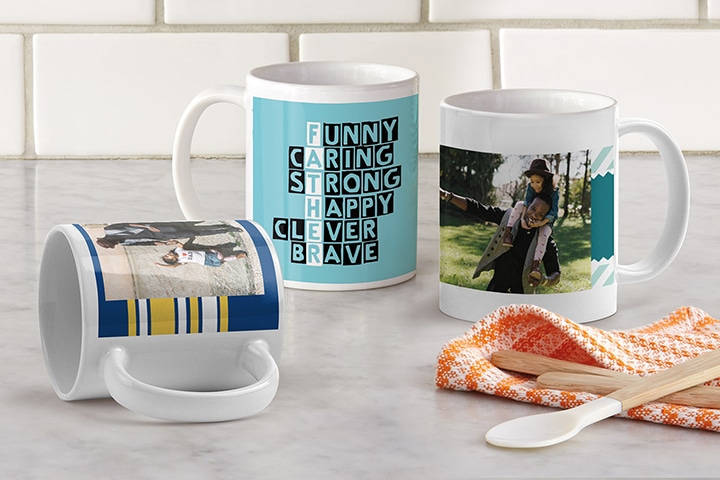
Thought about Father’s Day yet? No? Fear not, we have created three fun and easy personalised photo mug designs that your Dad will love! You can recreate these designs yourself, using your treasured photos with Dad, and our favourite embellishments for Father’s Day!
Embellishments featured in all of the photo mug designs can be found in the category: Snapfish Favourites > Father’s Day
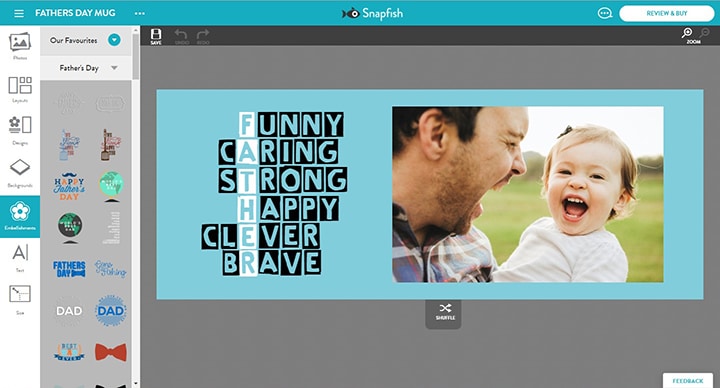
Photo Mug Design 1.
1. Start your design by choosing your favourite photos of you and Dad to add to your photo mug.
2. Mugs currently only have a handful of ‘pre-made’ layouts available, however this does not mean you are limited to only using these. The new Snapfish builders allow you to as creative as possible!
3. To remove the single image layout from your project, click on the ‘photo here’ area, and press the ‘Delete’ key on your keyboard.
4. Deleting the original single image layout will allow you to start your own design and leave you with a clean area to work!
(Steps 1-4 apply to all three mug designs)
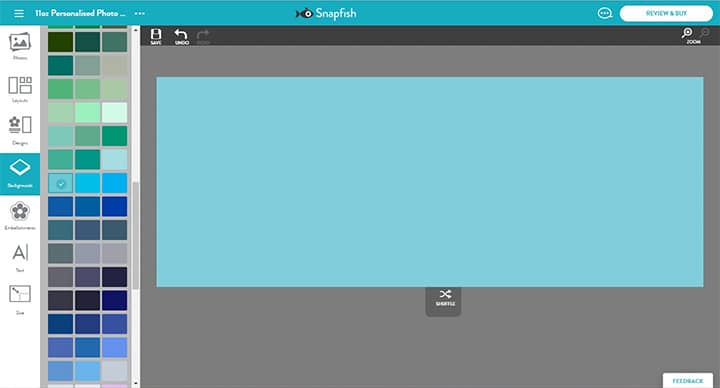
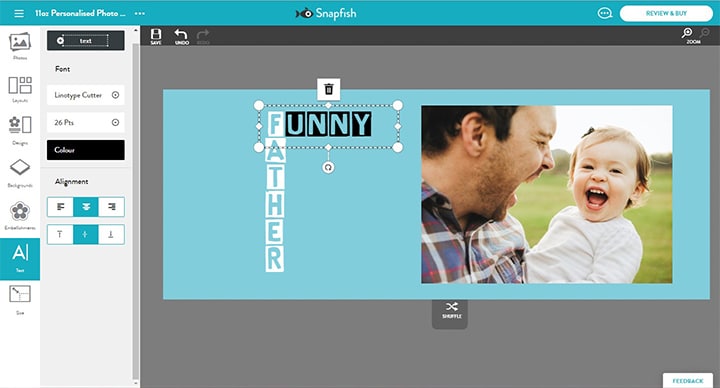
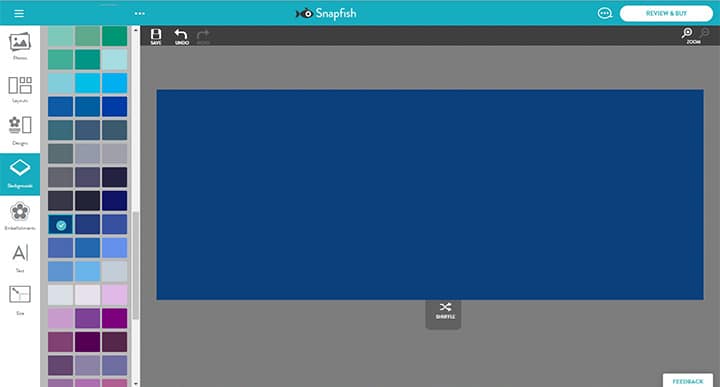
5. Change the colour of the background.
We’ve chosen a light blue colour, however you can choose your Dad’s favourite colour instead, or you could even experiment with a patterned background.
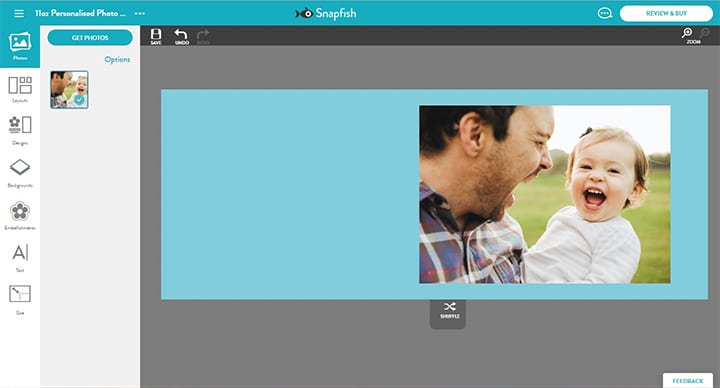
6. Drag and drop your selected images onto your personalised photo mug. We have chosen to use just one photo in this design, however you can add as many as you’d like!
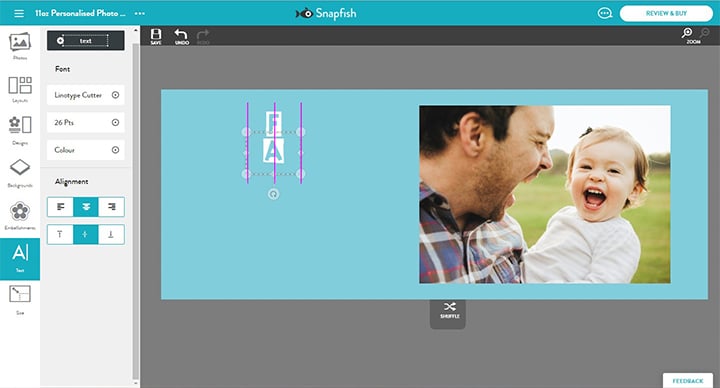
7. Add text to your photo mug.
We have used ‘Linotyope Cutter’, font size 26, in white. We choose a text colour that we thought would be a good contrast against the blue background.
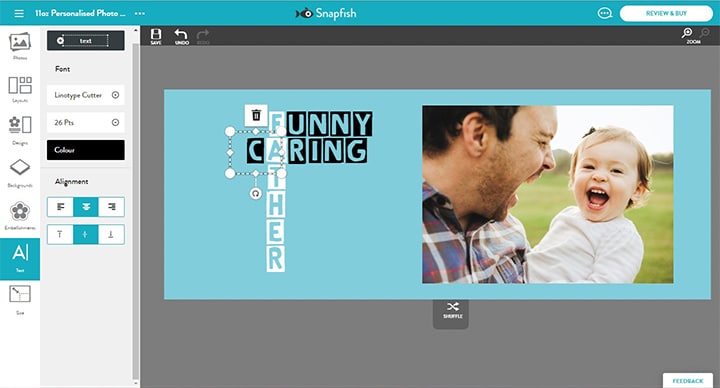
8. You will have to add an individual text box for each letter of ‘FATHER’. Place each letter below the previous one to create the vertical spelling. Use the bright pink lines to make sure your letters are aligned.
9. When adding your descriptive words, you will have to use separate text boxes for any text that is placed before, or after the white text.
Choose words that describe your Dad, is he Funny? Arty? SporTy? Happy? GrEat? Your HeRo?
10. Move and resize the text so it is positioned correctly.
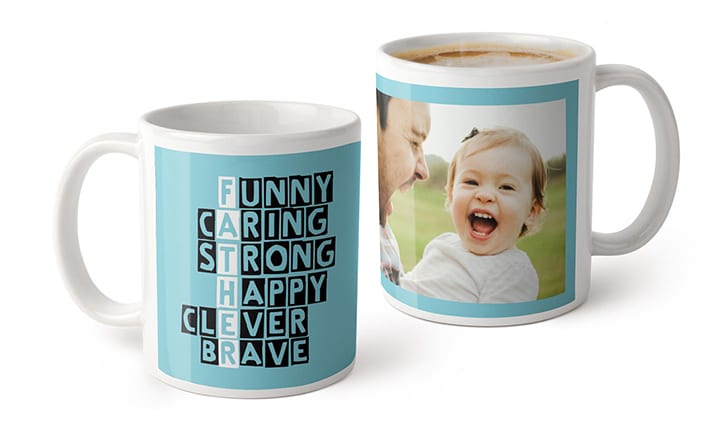
11. Once you have finished your design, click ‘Review & Buy’, and this is what your personalised photo mug will look like when printed.
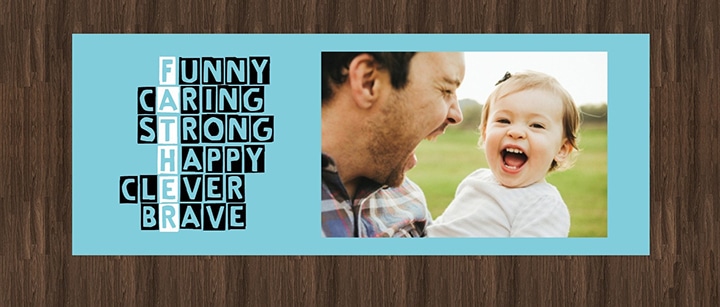
Photo Mug Design 2.
Follow steps 1 – 4 from Design 1.
5. Choose your preferred background colour.
When choosing a background, you can select from solid colours, textures, patterns and collections. For this layout, we would recommend using a solid colour.
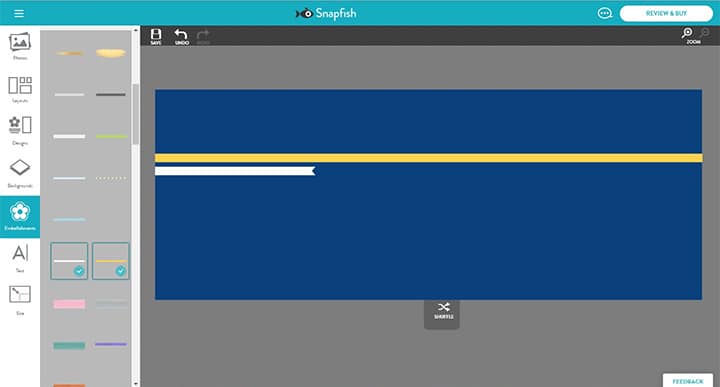
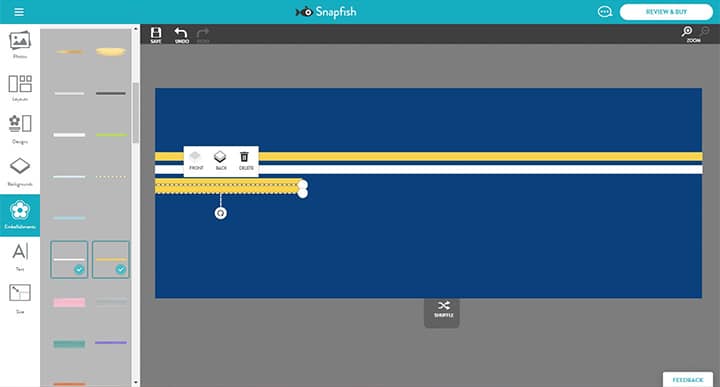
6. To create the stripes you will need to use two different coloured ribbon embellishments. All of the embellishments used in the photo mug designs can be found in the ‘Snapfish favourites’ folder.
To create the yellow stripe, simply take the yellow ribbon embellishment and place it a third of the way down the mug. Keep placing yellow ribbon embellishments next to each other until the stripe stretches across the mug. Use the bright pink lines to make sure your embellishments are aligned and the line is straight.
Do the same with the white ribbon embellishment to create the white stripes.
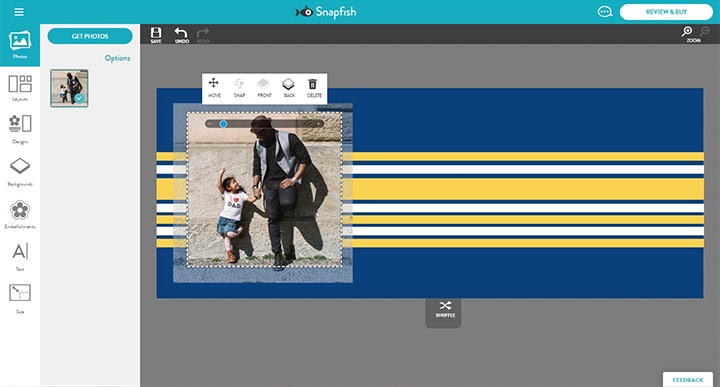
7. We decided to add some extra thick stripes to the design. We did this by placing two yellow ribbons on top of each other to increase the thickness.
8. Keep adding as many stripes as you’d like, and make them as thick as you’d like! You could even use different coloured ribbons. To find all of the ribbon embellishments go to the ‘Basics‘ folder, and then select ‘Ribbons‘.
9. Once you are happy with your stripes begin to add your photos. We’ve decided to focus on just one image in this design, but feel free to add multiple photos.
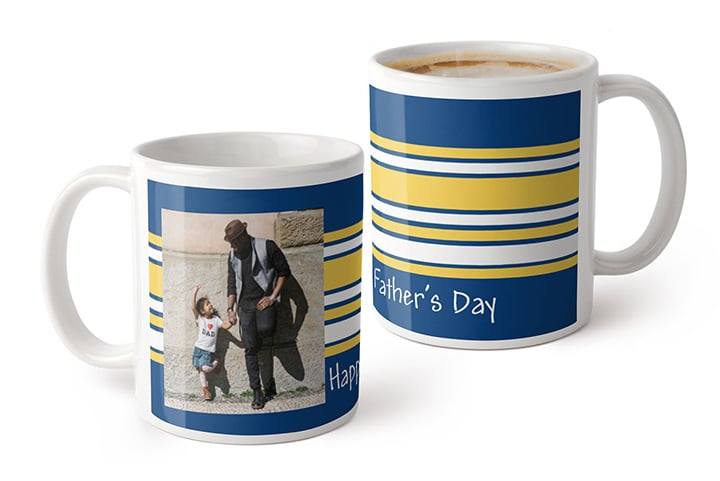
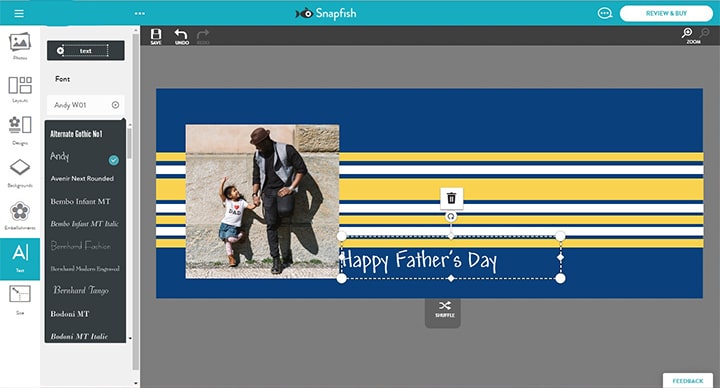
10. You can add any phrase or saying to your personalised photo mug, we’ve chosen to celebrate the special occasion, with the text ‘Happy Father’s Day‘ in font Andy, size 36 in white.
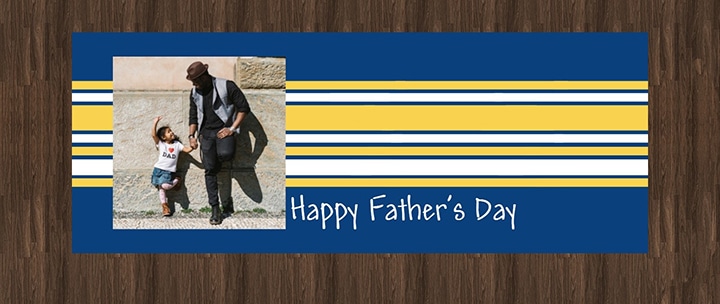
11. Once you have finished your design, click ‘Review & Buy’ and this is what your personalised photo mug will look like when printed.
Photo Mug Design 3.
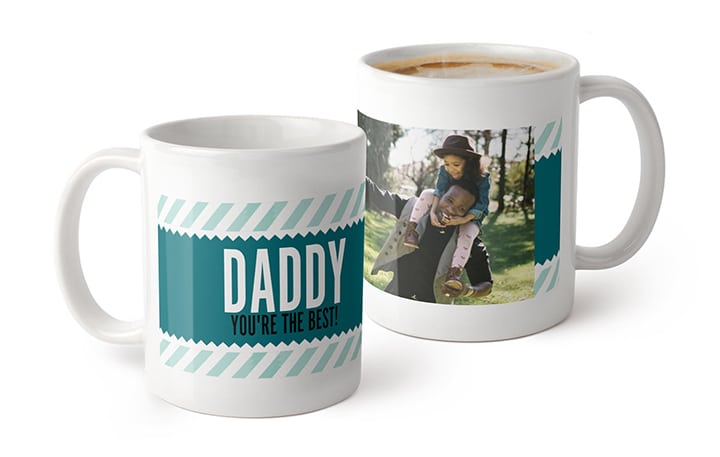
Follow steps 1 – 4 from Design 1.
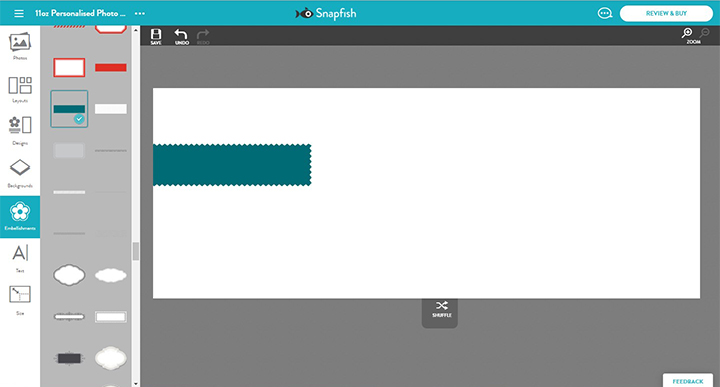
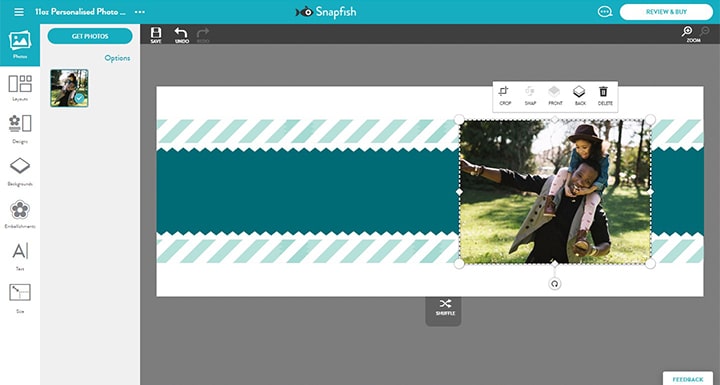
5. Begin the design by adding the teal washi tape embellishment. This can be found in the ‘Snapfish Favourites’ embellishment folder.
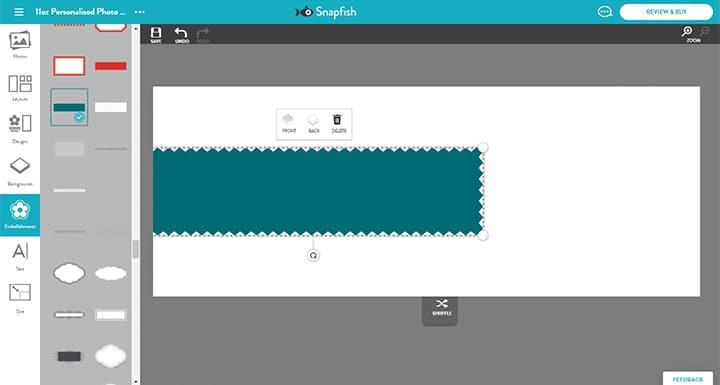
6. Resize the embellishment in order to create a thick strip.
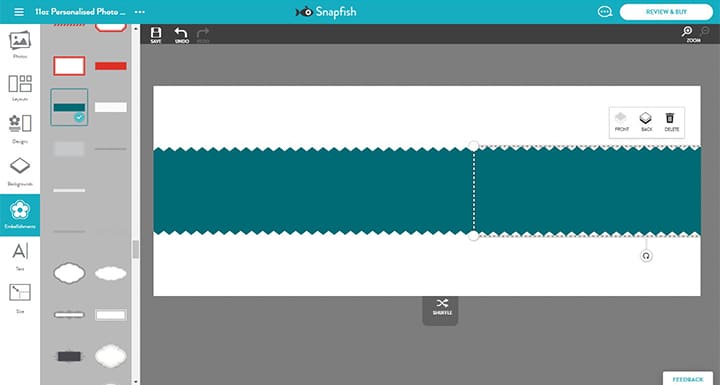
7. You will just need to use two embellishments to create a strip large enough to go across the entire photo mug. Use the bright pink lines to make sure your embellishments are aligned, and create a straight line.
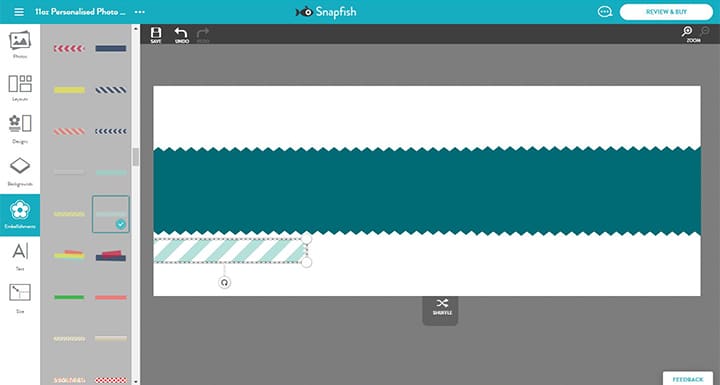
8. To create the bordering stripes, simply use a striped washi tape embellishment. We’ve chosen to use a light turquoise and white striped embellishment, but there are lots of other colours to choose from. To find all of the washi tape embellishments go to the ‘Basics‘ folder, and then select ‘Badges & Banners‘.
9. When you’re happy with your stripes, add your image. Choose your favourite image with your dad, it’ll make his coffee in the morning extra special.
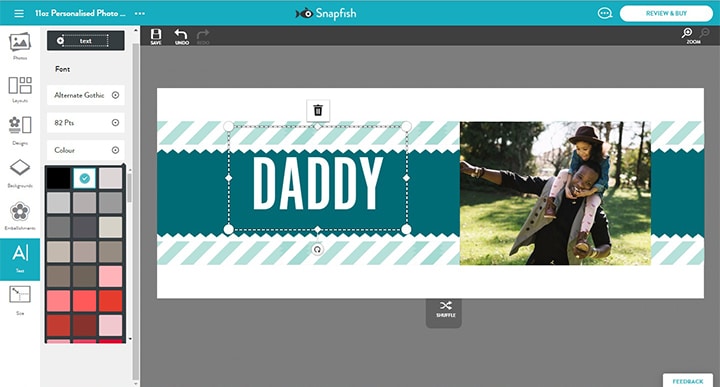
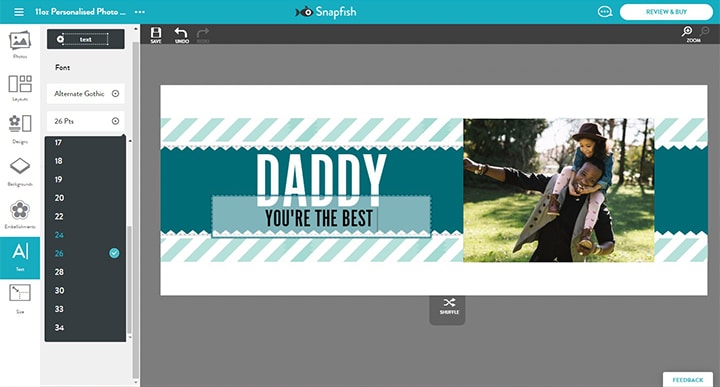
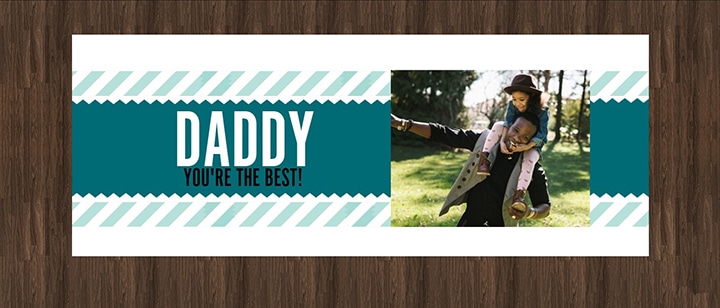
10. Add text to your design. We’ve added ‘Daddy you’re the best!‘
11. The text ‘DADDY’ is in ‘Alternate Gothic’, size 82 and colour white. ‘YOU’RE THE BEST!’ is in the same font, but in size 26 and in black. Using different sized and coloured text helps to add interest to the design.
Choose any phrase to add to your photo mug, make it personal to your Dad!
12. Finish your design, and click on ‘Review & Buy’ to see how your mug will look when printed.
If our Father’s Day photo mugs have inspired you, then head to our website to shop our Father’s Day gifts and check out our latest Father’s Day Deals.
Alternatively if you have lots of favourite photos with Dad, then check out our 3 Tips For The Perfect Father’s Day Photo Book 👨
What did you create on Snapfish? Share it with us on social media! You can tag us with @snapfishuk in your photos on Instagram or Facebook or use the hashtag #snapfishuk. Don’t forget to follow us on YouTube, Twitter and Pinterest, too. We love seeing what you create.

