Canvas prints
Canvas prints
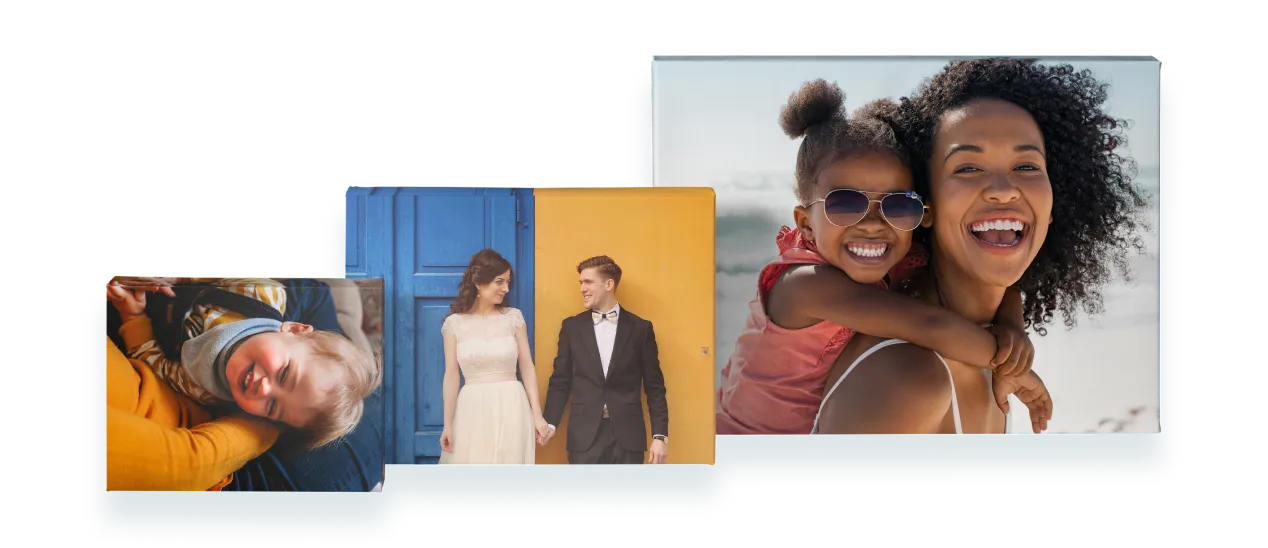
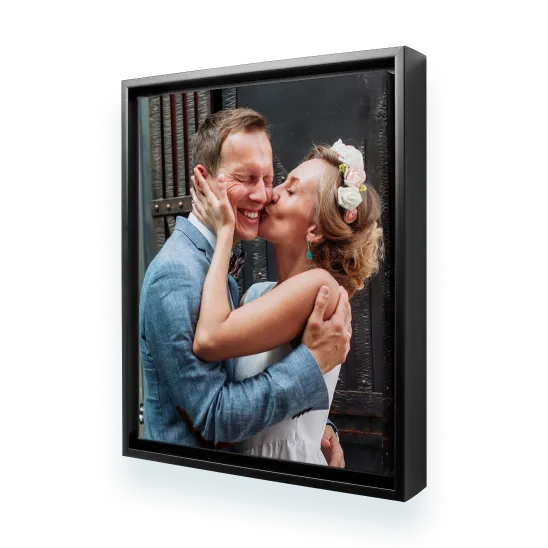
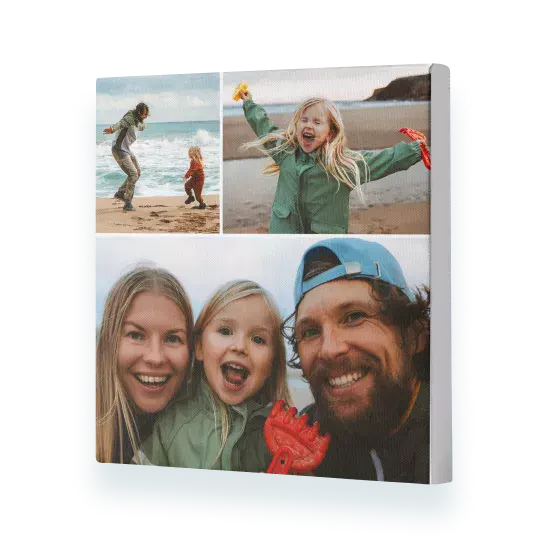
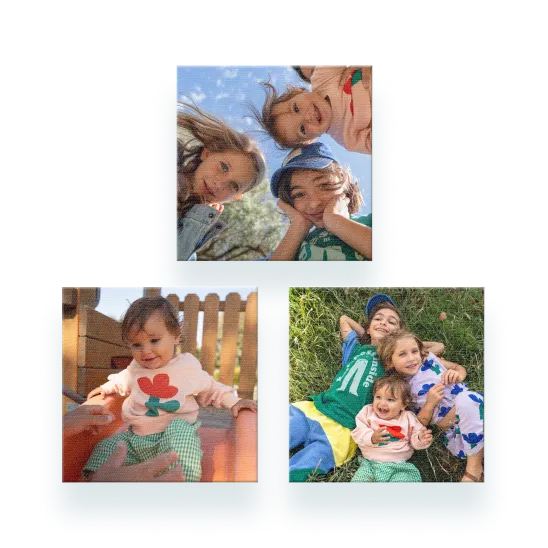
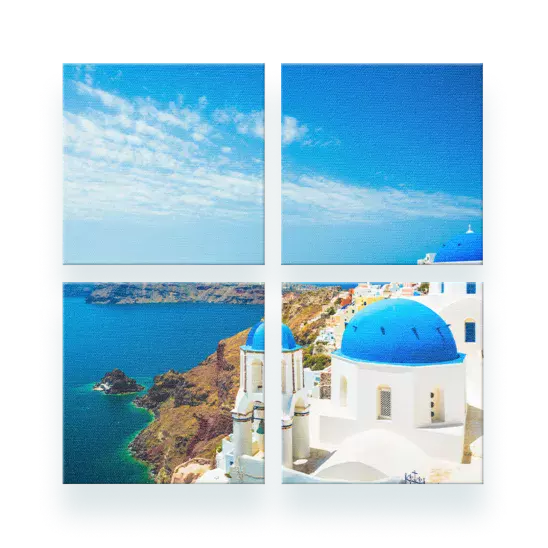
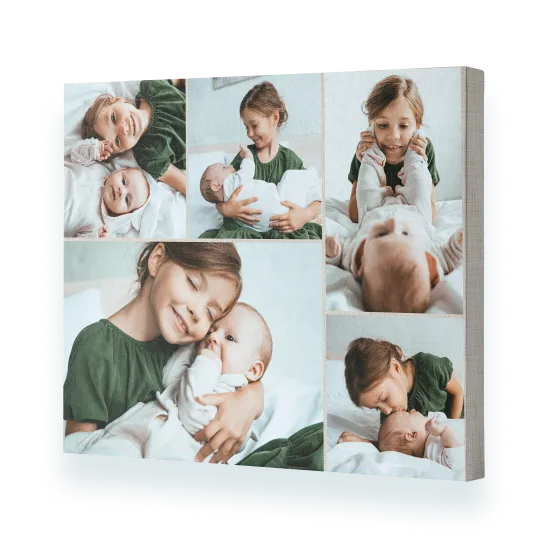
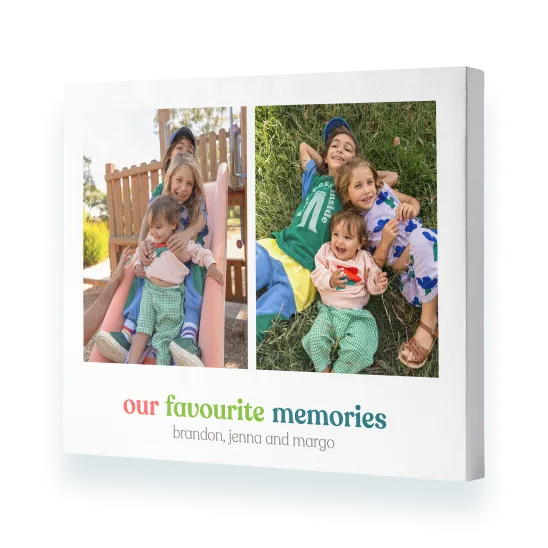
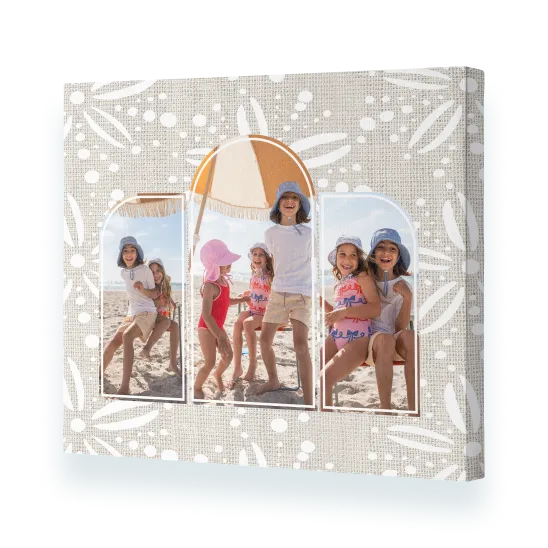
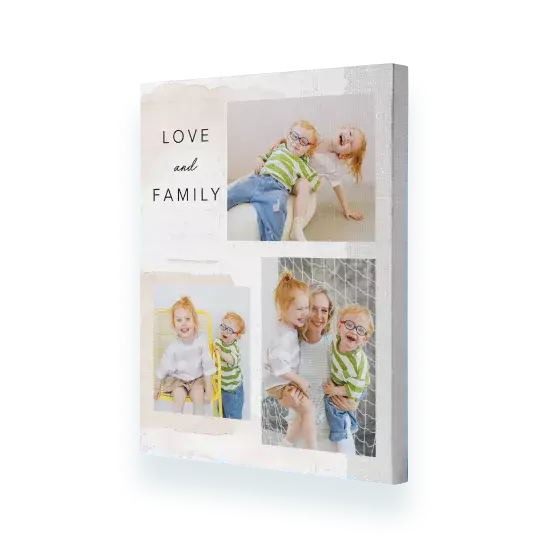
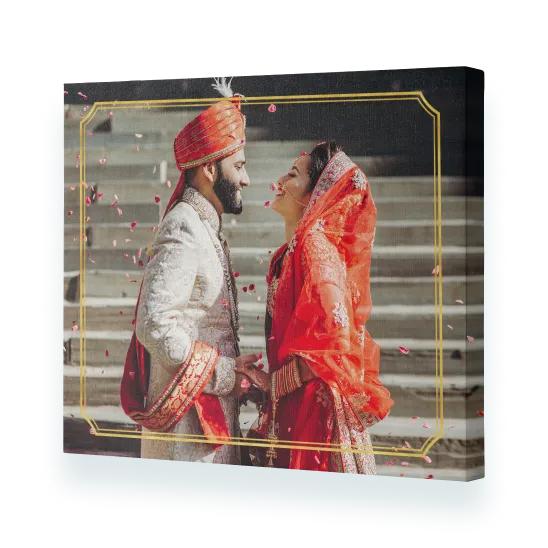
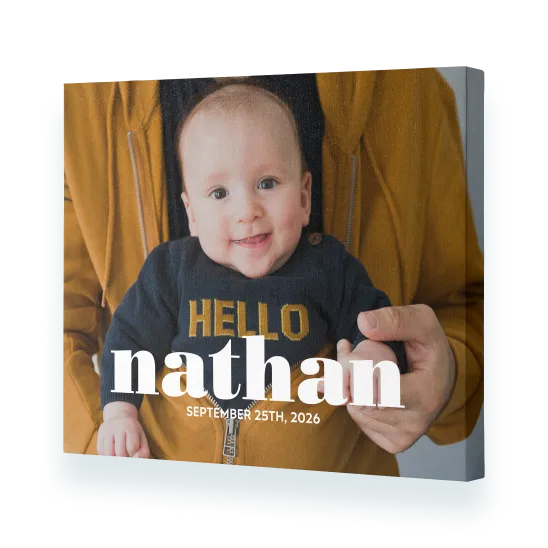
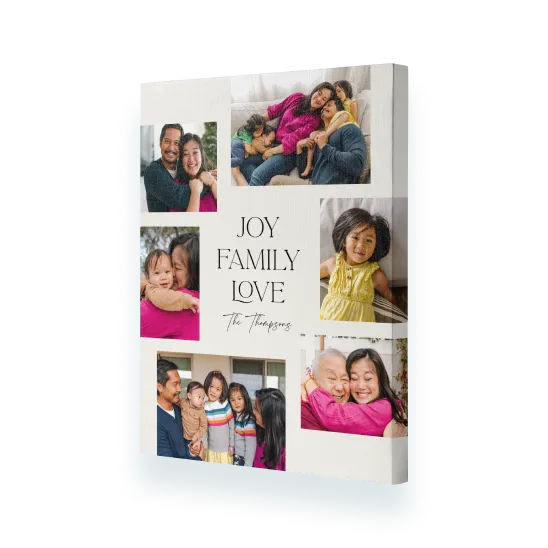
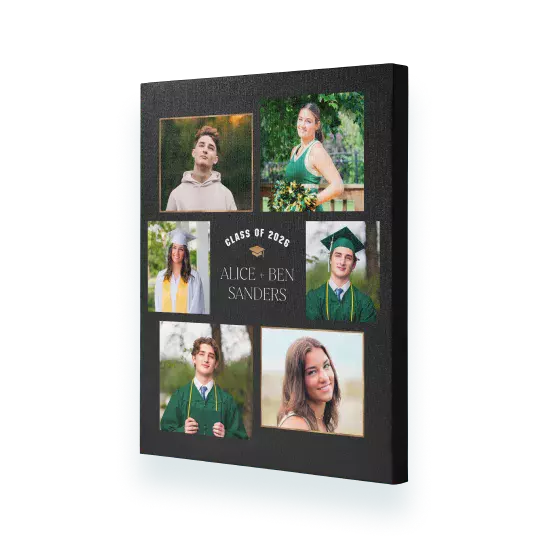
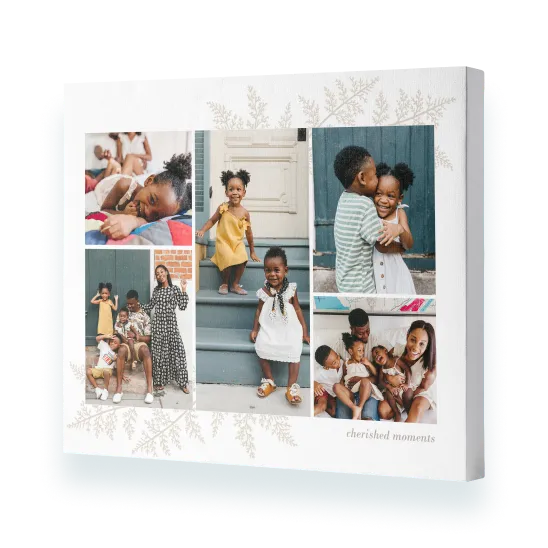
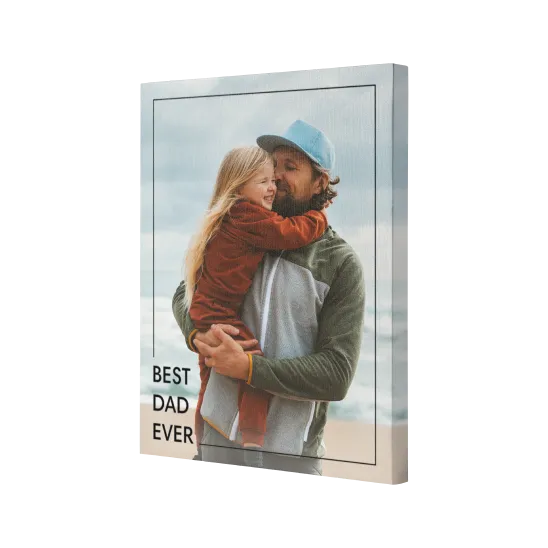
Preserve your most cherished memories on a quality canvas wall hanging for all to admire.

Shop by type and size


Shop by type


About our canvas prints
Create a personalised, high-quality canvas print that’s handcrafted, beautifully finished, and ready to hang.


Buy with confidence
print page name : canvas-prints
print page url : /canvas-prints
dcr path:
isFooterOff : true
isFooterOff1 : false
isItAmazonCobrand : false