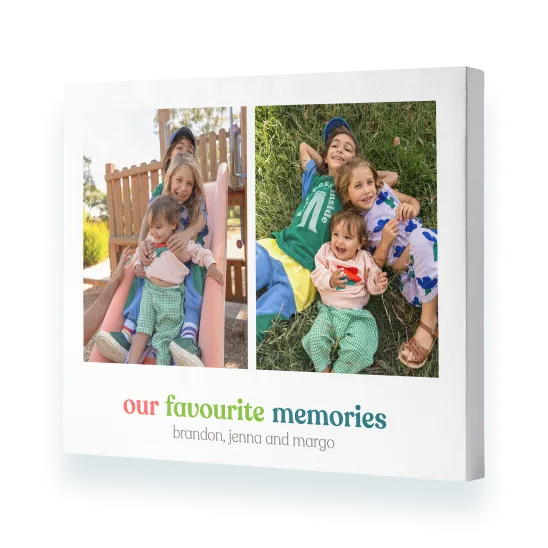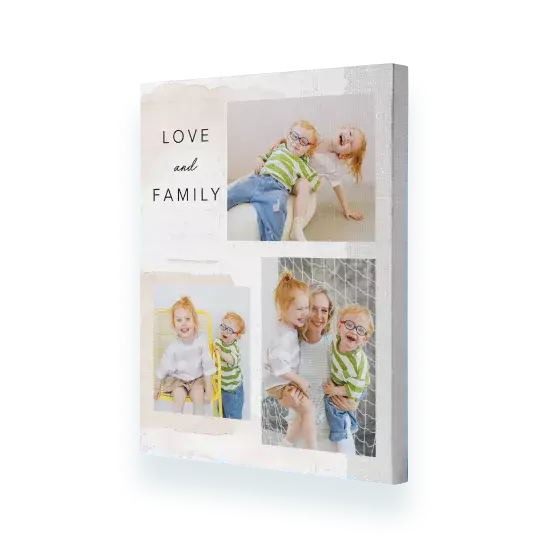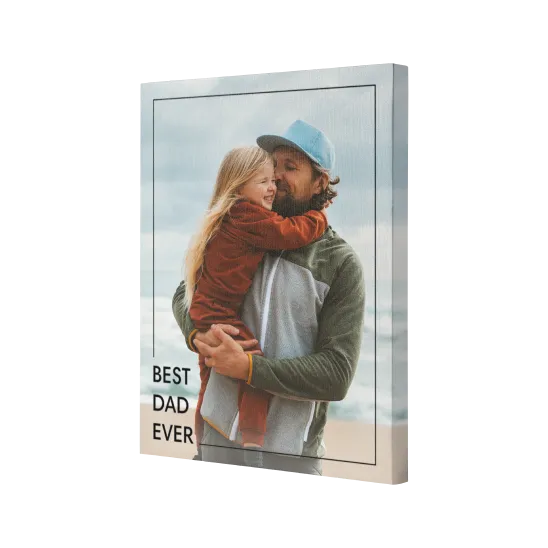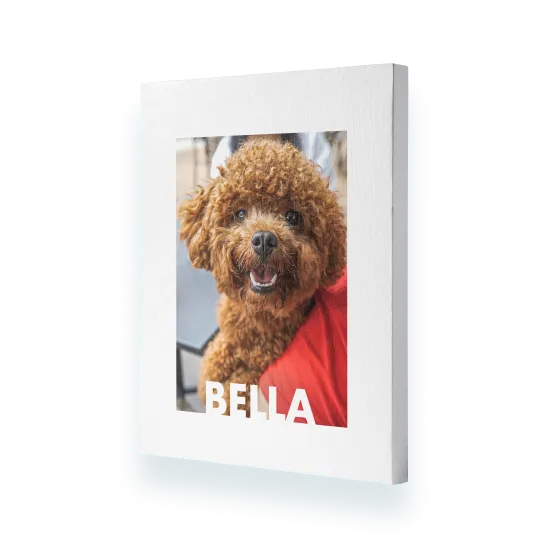
You can change the orientation of your photo canvas prints once you are in the project builder. Simply select the ‘Orientation’ button on the right-hand side of your canvas picture. We’d recommend deciding on your orientation before you begin designing your canvas photo print, as switching mid-design will alter the appearance of your personalised canvas.
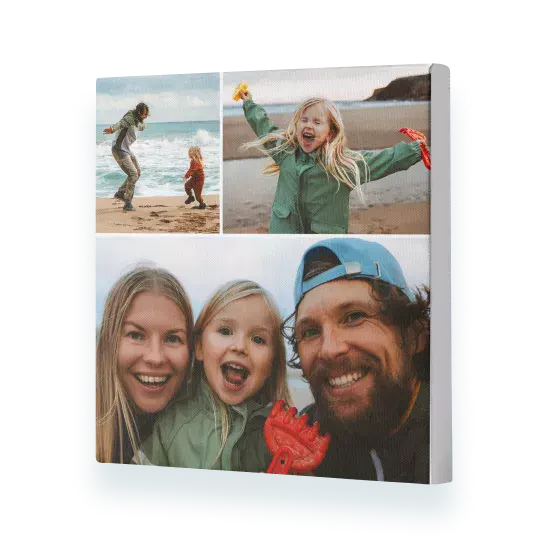
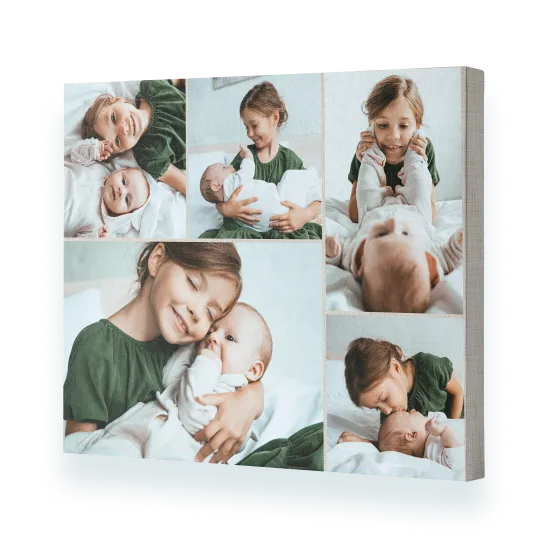
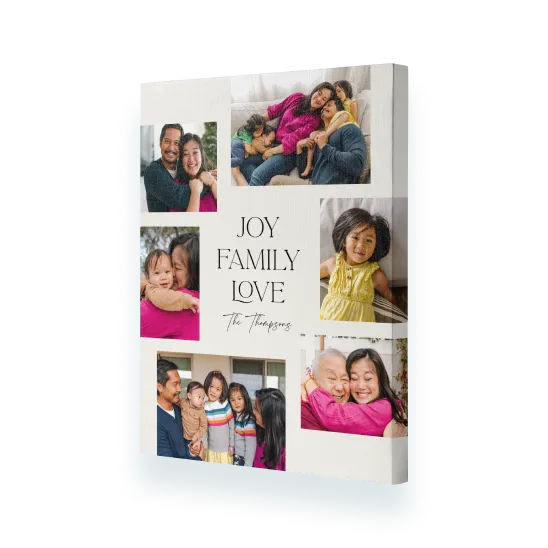
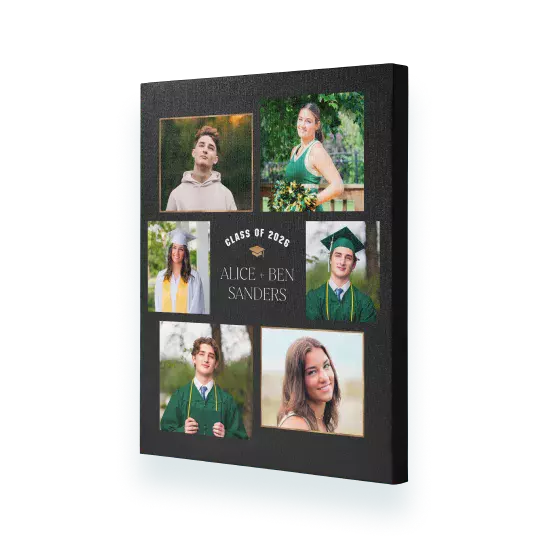
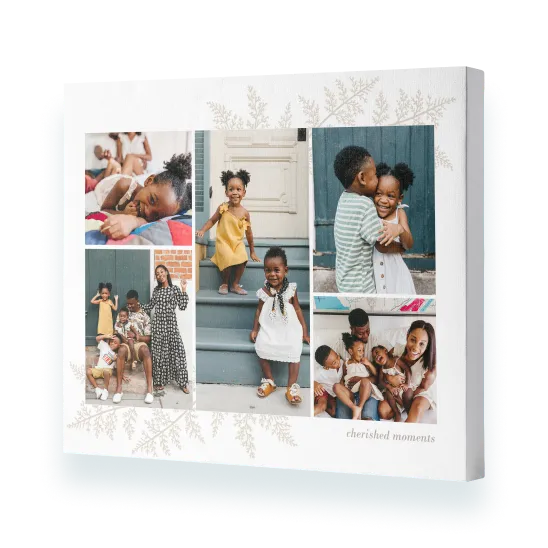
You can create collage canvas prints using our wide range of readily available designs and layouts in our builder. Navigate to ‘Layouts’ > ‘Colour Wrap’ or browse ‘More Designs’ to access our collage canvas designs. Alternatively, create your own collage layout by dragging and dropping images from the photo well onto your canvas print. Use the ‘Shuffle’ button until you are happy with the layout, ready for canvas printing.
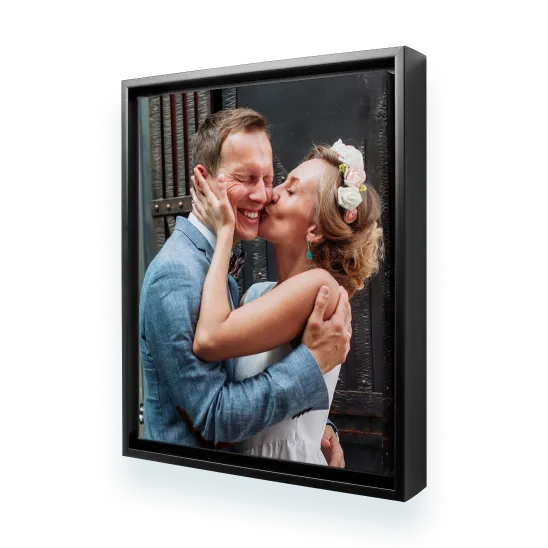
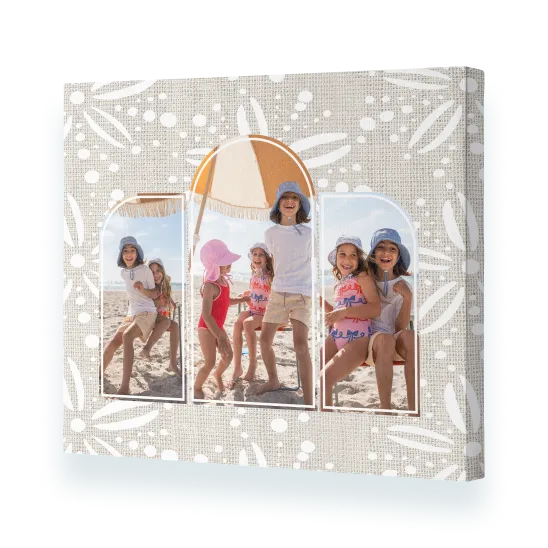
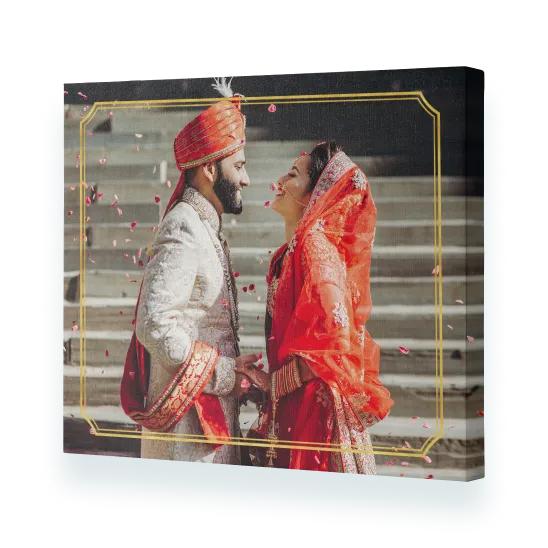
If you want to avoid your photo wrapping around the edge of your canvas picture, then opt for a ‘Colour Wrap’ design. You can browse our range of ‘Colour Wrap’ designs by clicking the ‘Layouts’ button in the left-hand menu. Why not opt for our framed canvas print for a classic finish?
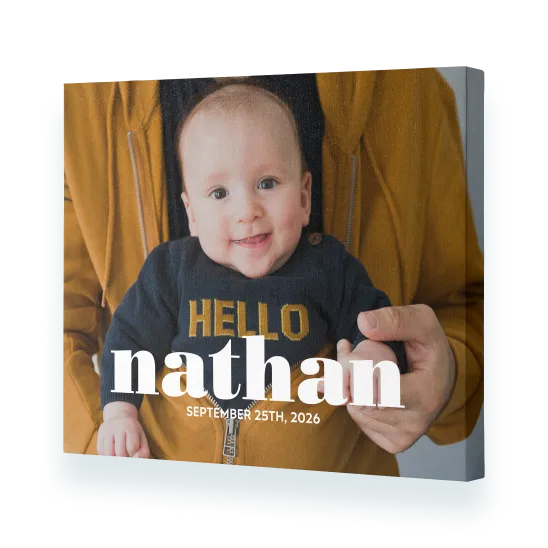
The easiest way to create a non-photo canvas print is to start with a single photo design, which you can find in ‘Layouts’ > ‘Photo Wrap’. From there, you can remove the photo by clicking ‘Shuffle’ and then deleting the ‘Photo Here’ slot using the ‘Bin’ icon. Then just add your desired text or embellishments to your personalised canvas, perfect if you're looking to customise with initials or quotes.
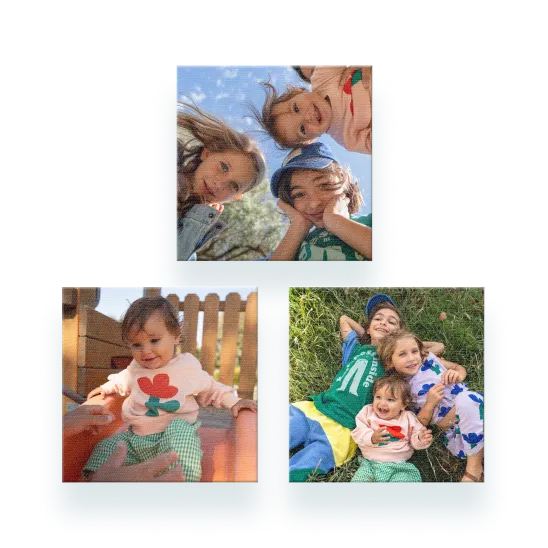
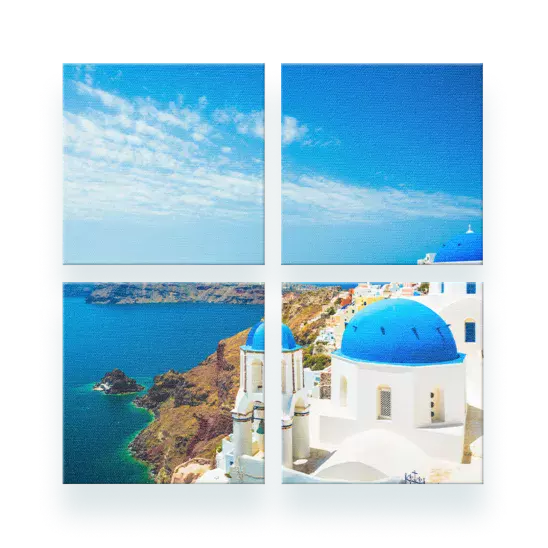
You can add as many images as you like to your photo canvas. However, if designing a smaller canvas print, we’d recommend fewer photos to avoid cluttering your canvas photo prints. Canvas sets are a great way to enjoy more photos, spread across a number of different canvases!
Hanging kits are included with all our premium canvas picture prints, but not with our slim canvas prints. Visit our help section for more information on our canvas prints and all other Snapfish products.